I can't even believe that I get to write this bathroom post...FINALLY! I've been wanting to tear this place apart from the moment I moved in and I am so excited for Adam and I to have a gorgeous new space!
Today we're talking MASTER BATHROOM! Adam and I live in a three bedroom 1.5 bath semi-detached house. This is all code for there is only one big bath in our house.So we only get one chance to make this one bathroom really functional and pretty! The bathroom has been tiled about 10 years ago when Adam and his best friend lived here and had re-tiled the bath a very celtic green. Thanks guys. Face palm. It was always really hard to do anything with the space because of the color and wonky tiling so I knew we would want to re-do the space for oursleves and for re-sale of the home.
Today I'm sharing some of our design plans, some of my mood board pictures, a little demo action, and YES, even the dreaded before pictures with you all. Goodbye green bathroom and hello bathroom of my dreams.
1. Using our favorite black and white tiles
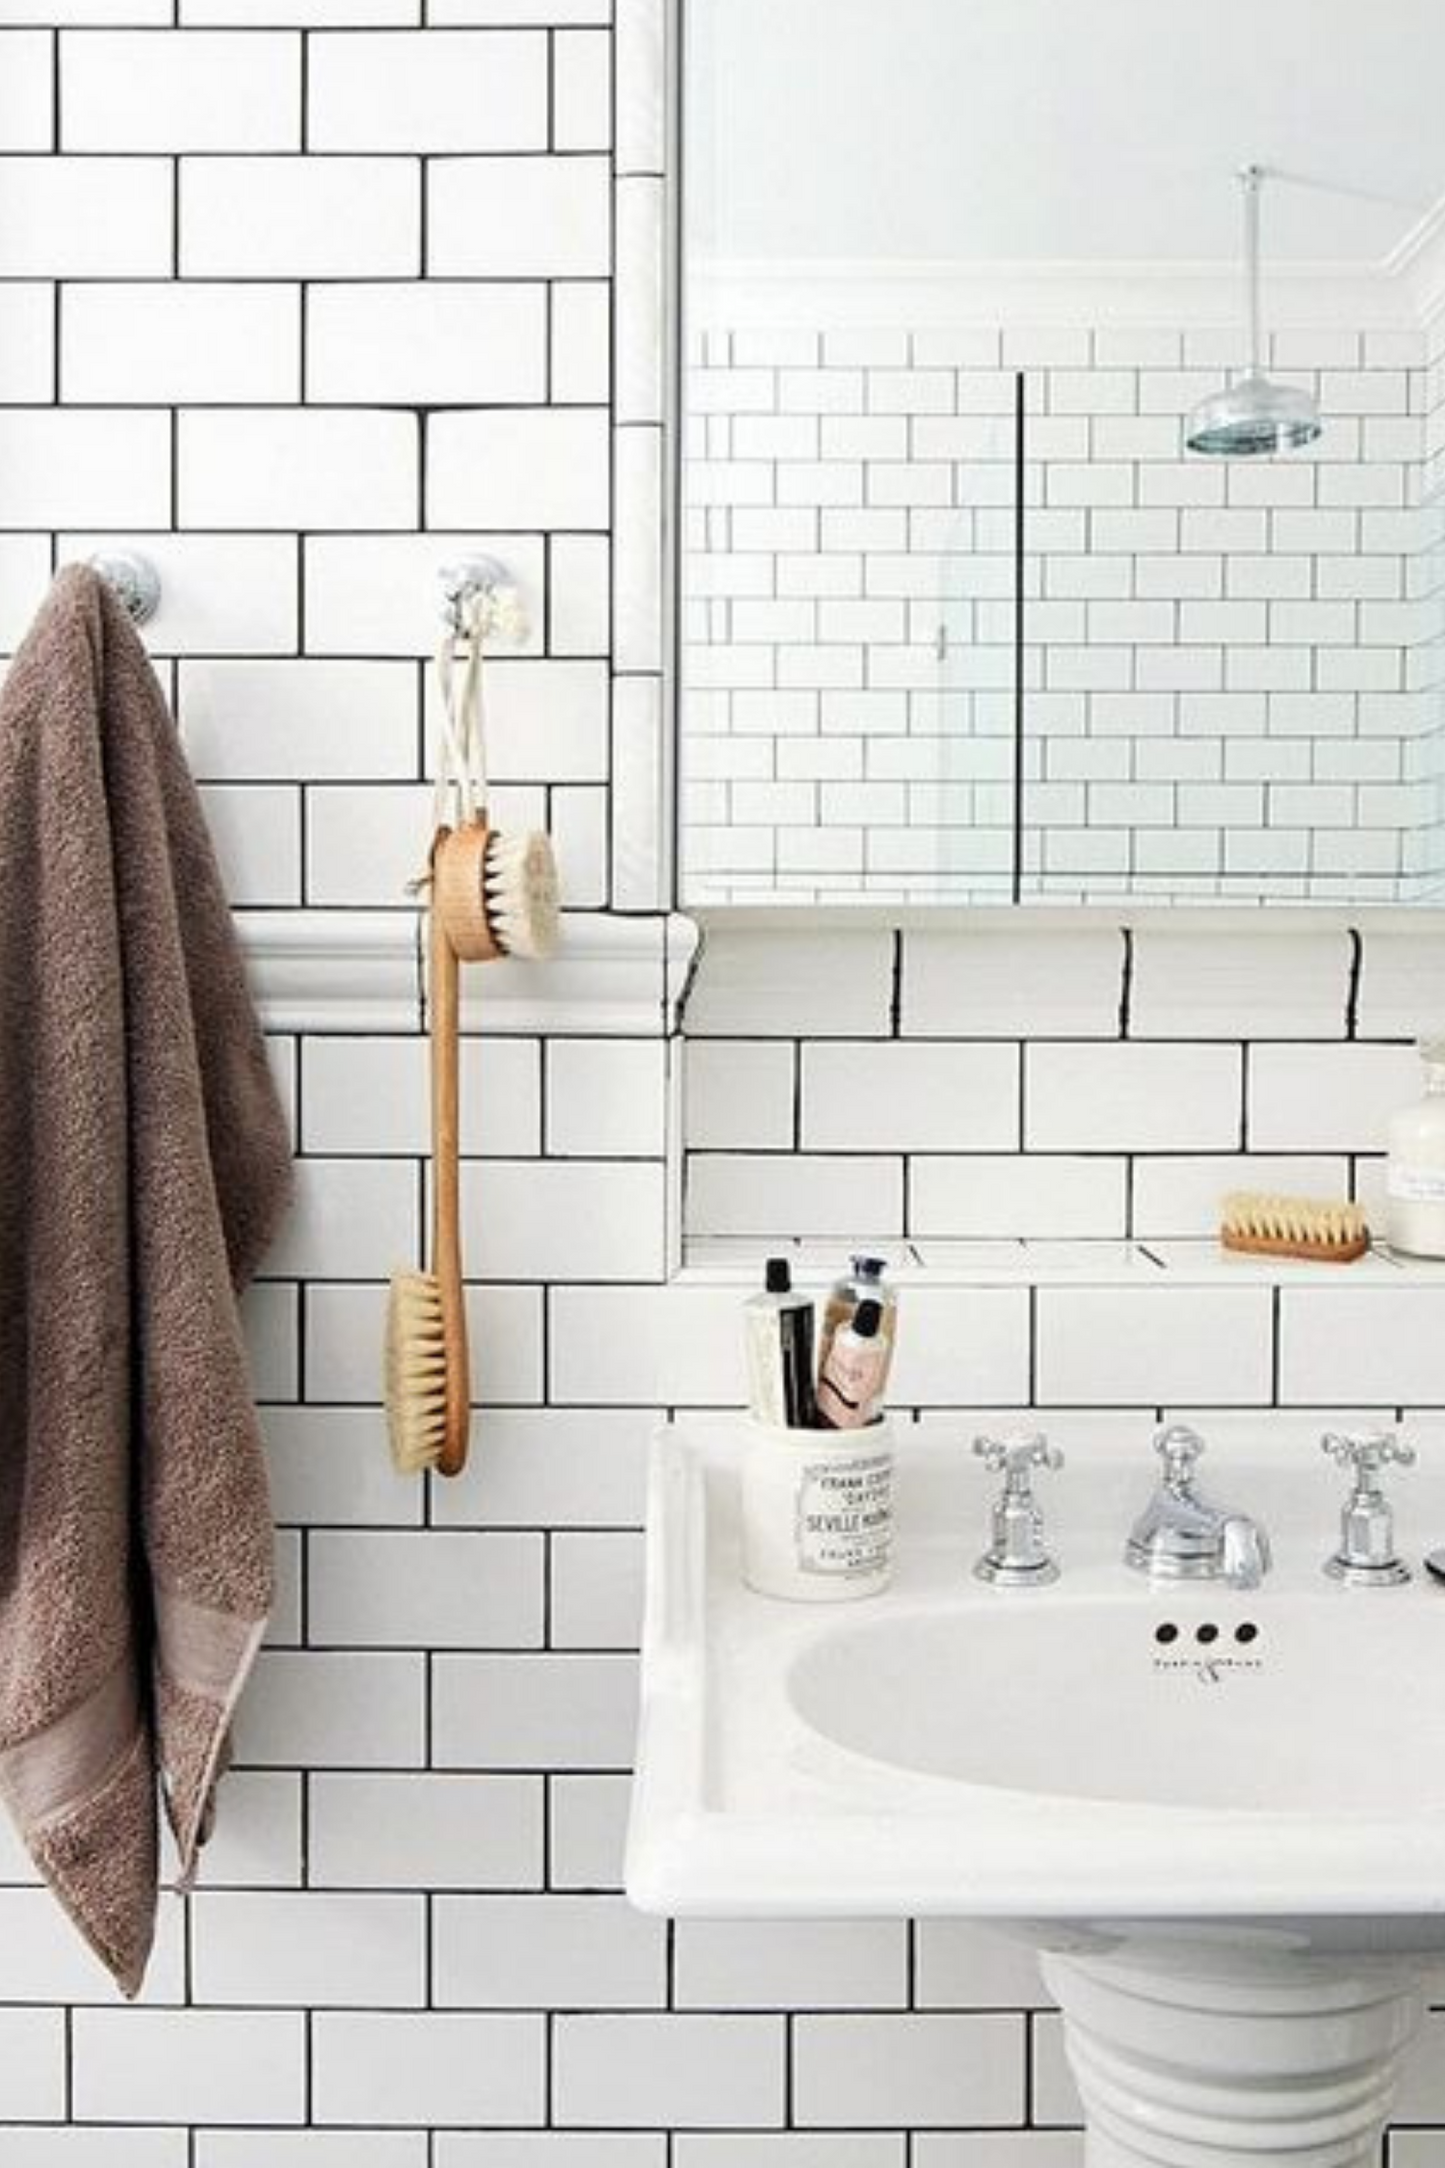
I think it is really important to unify your home together with little moments of consistency as it makes the space feel intentional and continuous. We used these gorgeous black and white tiles in our downstairs bath and we are 100% using them again in the master.
I think this will help pull the to spaces in our home together as we've used black and white tile throughout the home. I'm also totally obsessed with these tiles and they make the bathroom super luxe and a little vintage.
2. Adding in a new color to our home...BLUE!
Ok, I admit it. I fell head over heels with a shower curtain. About 8 months ago I fell in love with a curtain from Anthropologie and it totally inspired the whole color scheme for the bathroom. I also wanted to break up the pink in our home so I thought adding some fresh blue to the home would make it feel bright! I'm adding in lots of little blue bits to go with the curtain as well. See below!


3. Keeping things classic and vintage with handmade subway tile
I've ordered a million tile samples for this space and finally landed on a really lovely classic white tile from Porcelain Super Store called Dorset White. It's a really long tile, handmade in Italy and it was the perfect modern but still vintage tile. We've actually installed that side of the bathroom already (sneaks on insta!) and the tiles are gorgeous.
4. Adding in some really lovely essentials
Below I shared some of new bits and bobs I've using to accessorize. My current favorite piece is the large mirror from Oliver Bonas that looks so good with the new curtain. I'm adding in some other blue, yellow, and pink bits to go with the curtain and pull the space together. You can see my modd board below!

BEFORE PICTURES:


5. Keeping the layout
To keep things affordable we decided to keep the layout the exact same and re-use the bath, sink, and toilet. I also really liked these pieces as they were pretty classic already.
We are also planning on deep cleaning and adding new taps/hardware but for the most part we are keeping it all the same! The bathroom will look amazing with the new tile and that means the bulk of our costs are on tiling!
6. Doing it all ourselves
We are also totally comitted to doing the whole thing oursleves! I find that people are usually pretty shocked when we tackle the projects ourselves but we really enjoy problem solving. keeping costs low, and making design decisions in the moment. Plus, I the added joy of knowing you did the whole thing yourself!
The plan is to do the side of the bath before my surgery in April and then finish off the floors in May after I've had some recovery time.
Adam and I are in the middle of demo as you can see but I'll be sharing all of the details and demo over on my home insta @casaconnelly. In the meantime, take a peek at my mood board pictures and products to get a sense of the style I'm going for.
So excited to see what you guys think! Let me know below and also send me all your bathroom tips as always.


